Playroom Organization Made Easy before Summertime in 7 Simple Steps
Let’s be real- a kids playroom is bound to be messy. Organizing a playroom is really about getting a system in place where your kids know where items should go when it is time to clean up. Being intentional about the quantity of toys in the playroom gives your child the space to be creative & engage more deeply with their toys. And now is the time to do it before they are home all summer! (eeks!!). Follow these steps to start decluttering & organizing your playroom:
Step 1: Declutter
The first step in organizing any space is to declutter. Start by grouping toys into categories (all the cars together, stuffed animals together, etc.). This is easily the longest step in the process but helps in decision making when you can see quantity of each toy category. Then review each category and sort toys into three piles: keep, donate, and toss. Be honest with yourself about what your child actually uses and loves, and get rid of anything that is broken, outgrown, or not played with. I recommend doing the decluttering process first without your child and removing the donate/trash items from the space, then bring your child in for some final “decisions”. Suggest to your child that they can keep a certain quantity of cars for example. Consider moving hard to part with toys to a storage area and rotating them into the playroom after a few months- if the toy is still not played with then it’s time to let it go. Store toys keeping for sentimental reasons out of the playroom and in a bin in a storage area.
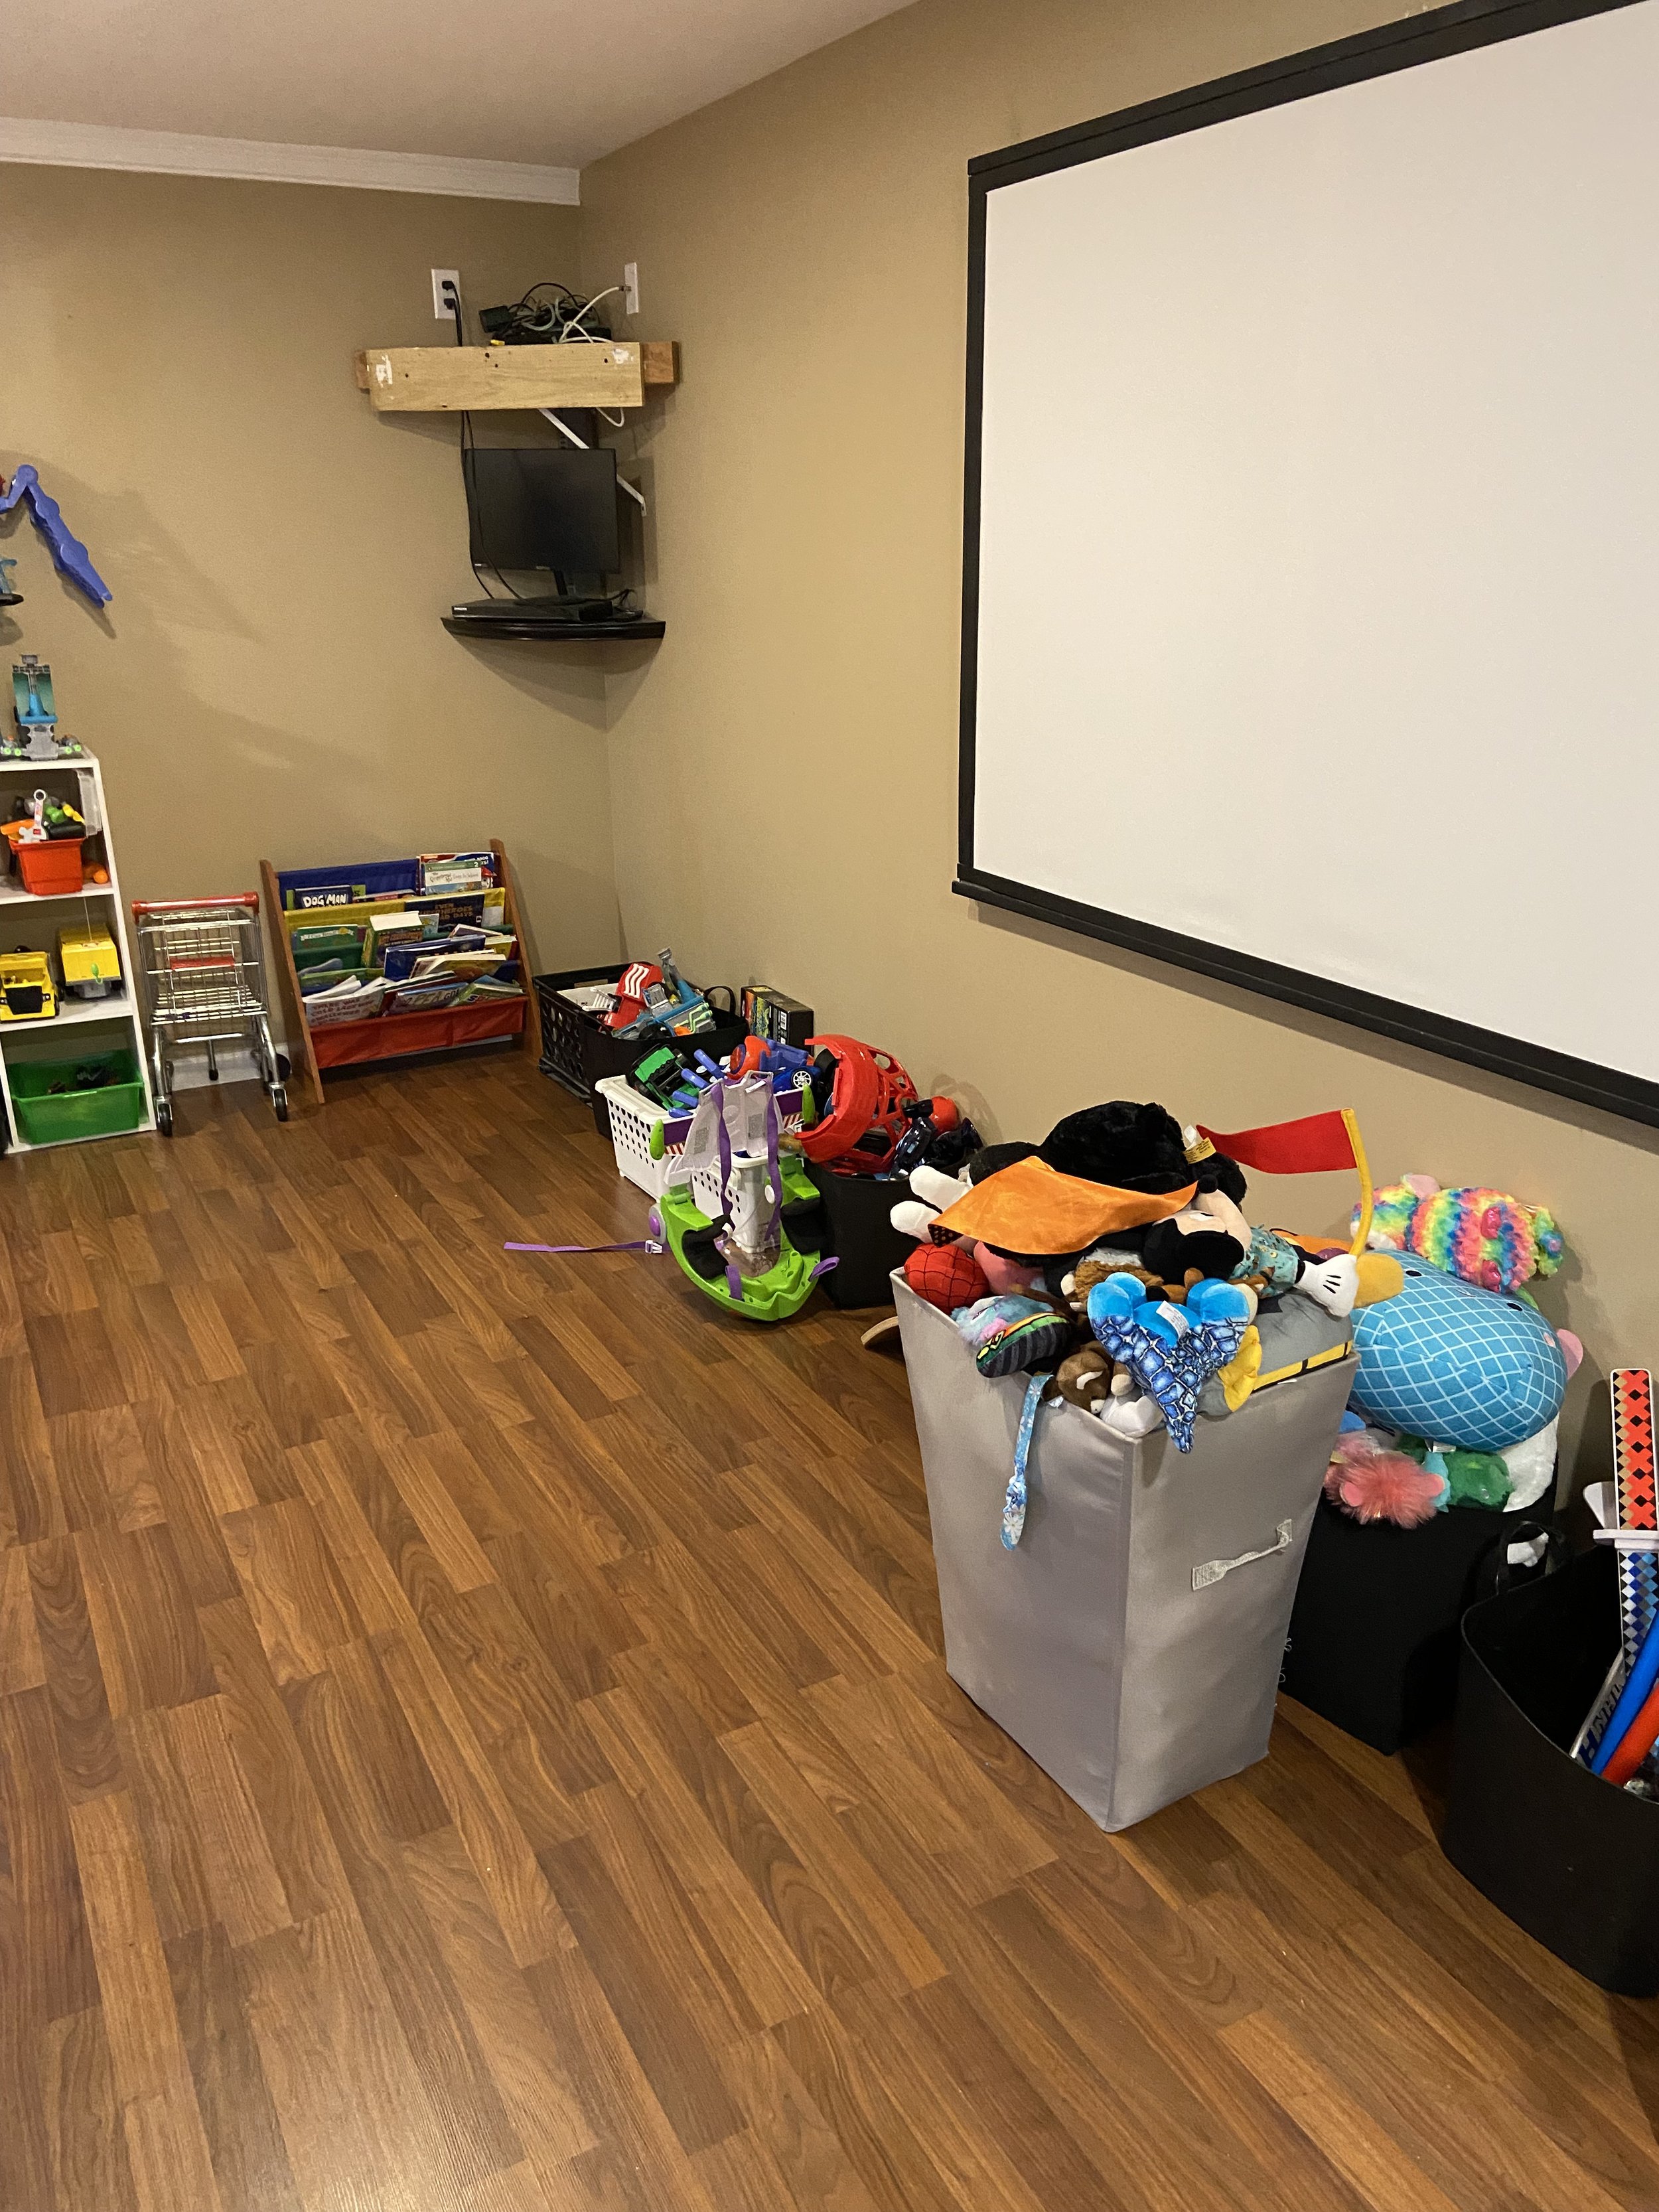
Picture of a playroom after toys were sorted into categories to review what to keep vs toss vs donate
Step 2: Create Zones
Once you have decluttered, it’s time to create zones in your playroom. This will help your family easily find their toys and keep things organized. Consider creating a zone for arts and crafts, a reading nook, a dress-up area, and a toy storage area. If you have a wide age span in kids consider creating a separate “toddler” zone from the big kid zone. Understanding the “zones” you need can help determine appropriate storage options.
Step 3: Invest in Shelf Storage
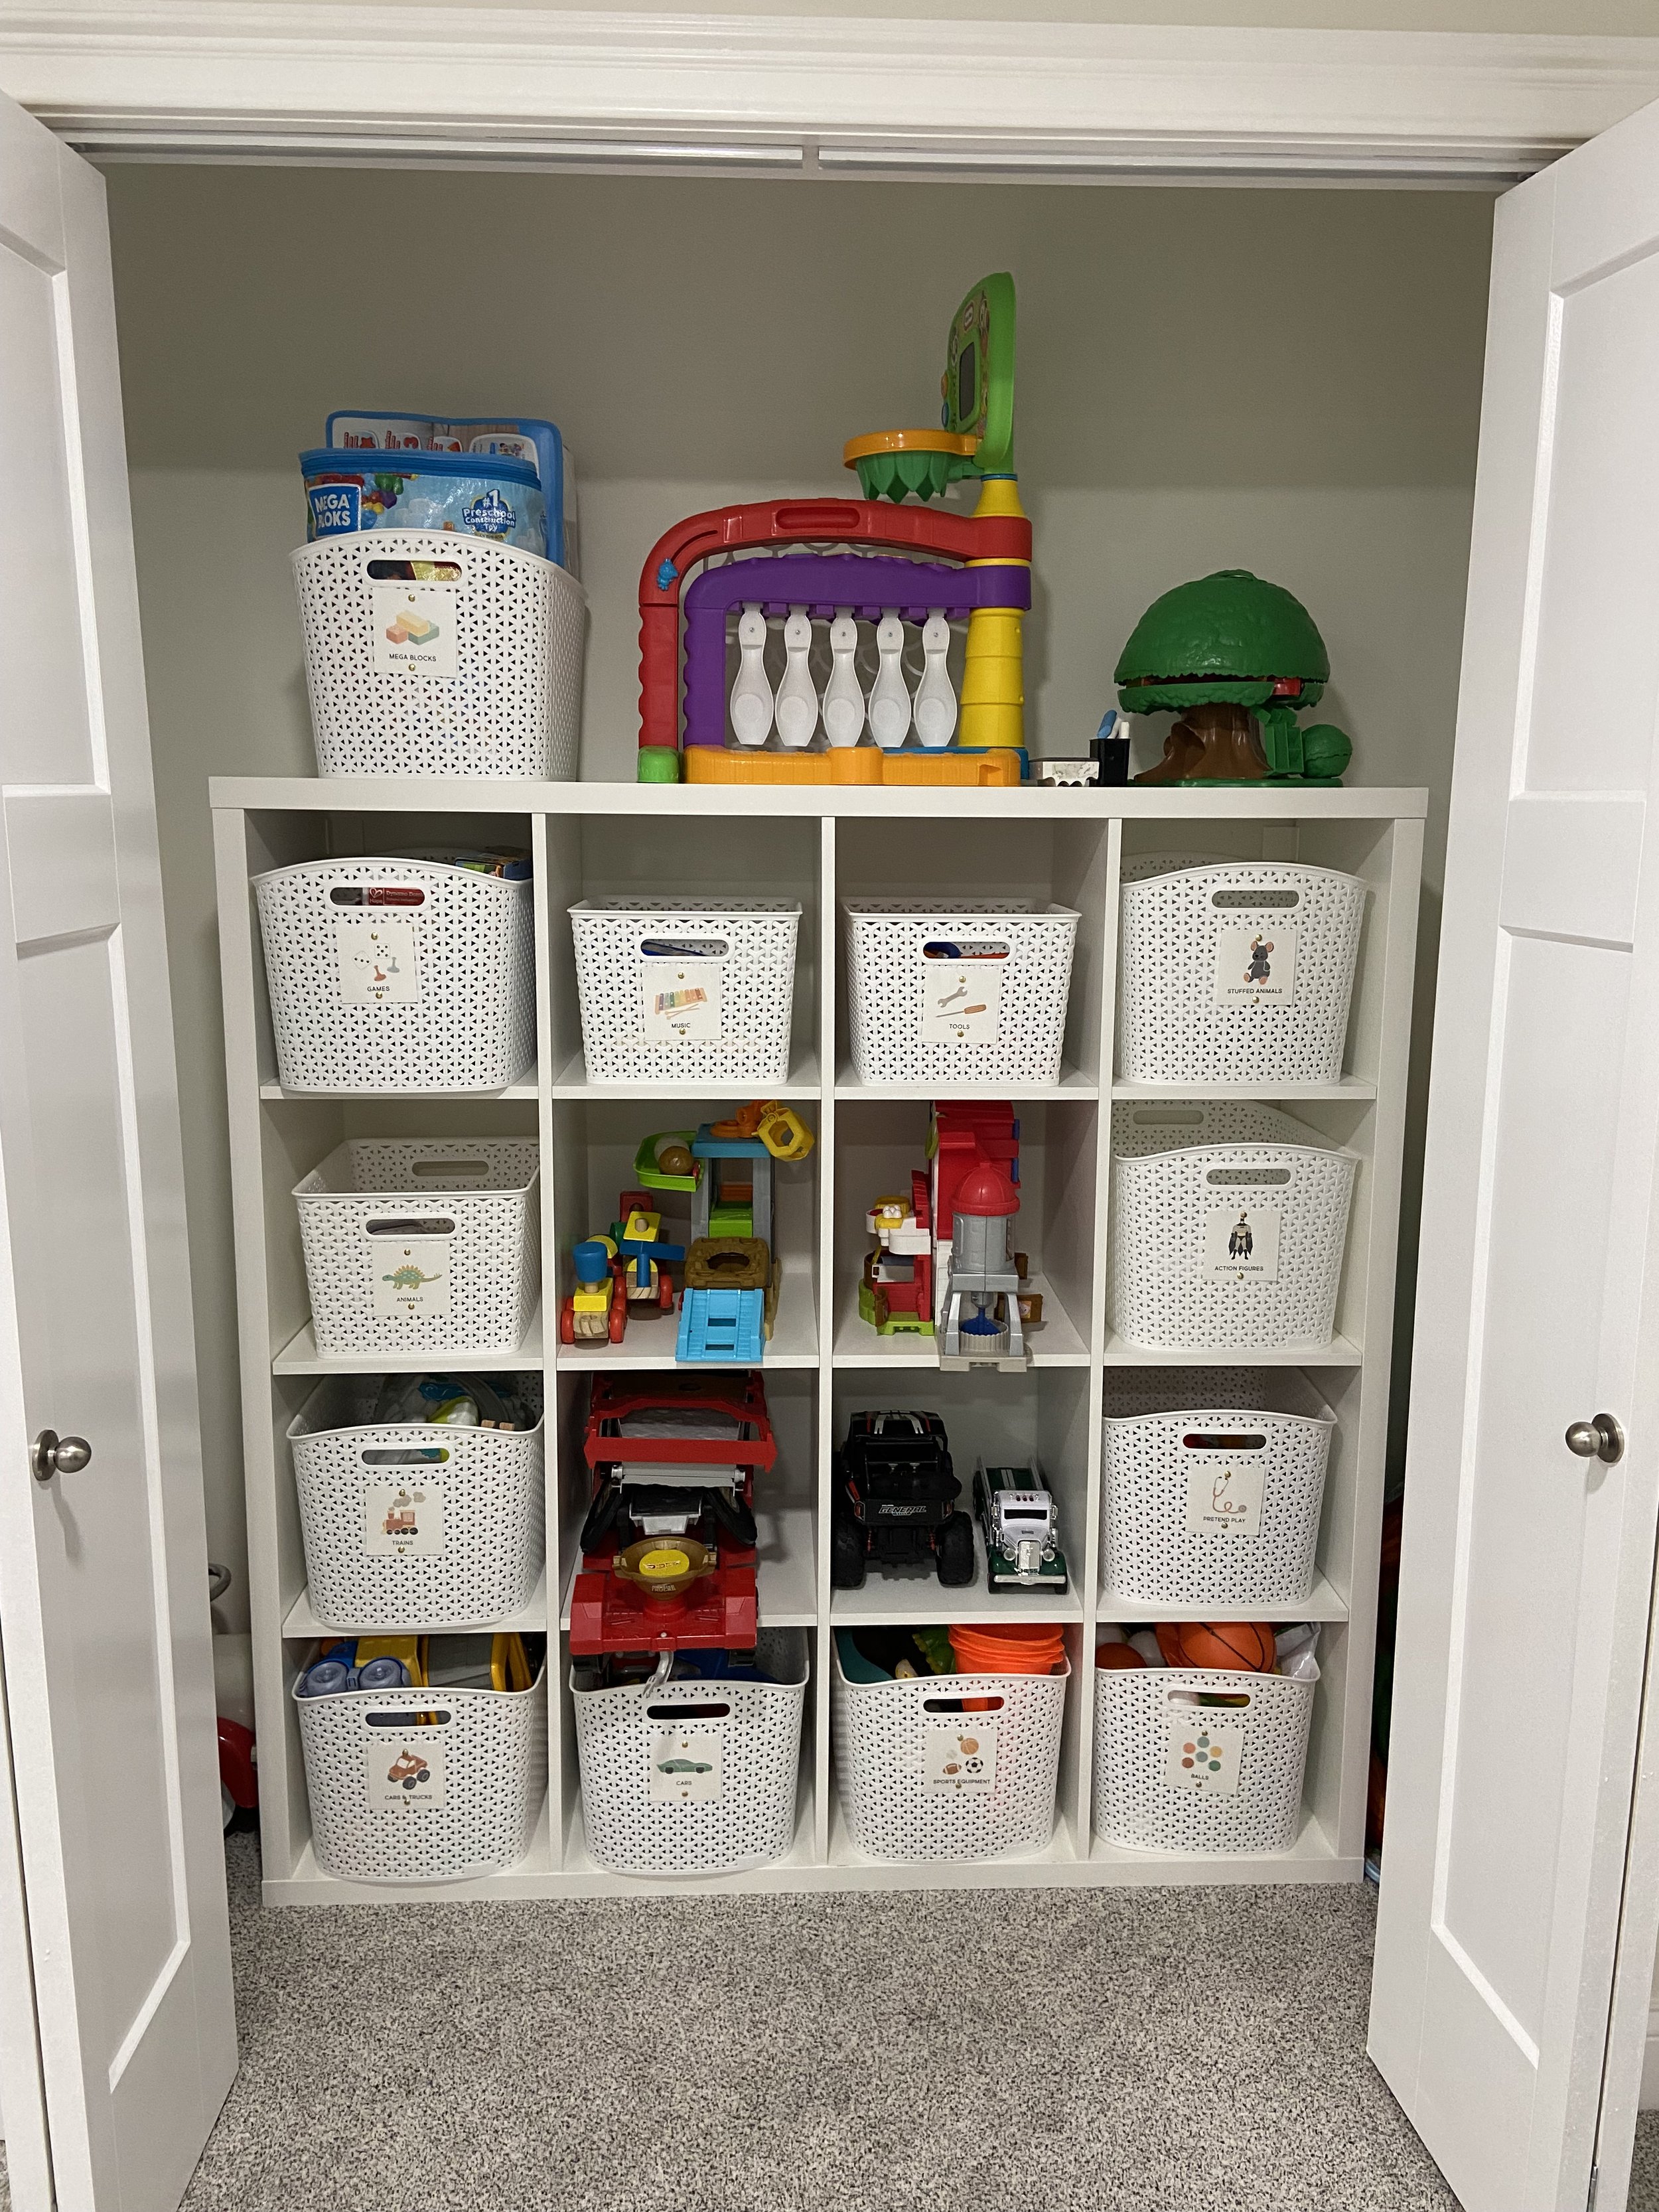
Storage is key to keeping a playroom organized. Invest in some good quality shelving that maximizes the space you have available. My favorite storage system for toys is the KALLAX unit from IKEA. The Kallax can span a playroom horizontally (with larger toys stored on top) or be used vertically like bookshelves. IKEA also has a great shelf track system for closets which helps when storing larger playsets. The Trofast system from IKEA is also a great option for LEGO storage and other smaller toys..
Step 4: Consider Item Placement
When storing items on shelves, make sure heavier toys like train sets or blocks are stored on lower shelves/cubes. Ensure most toys are at your child’s level or lower so that items can easily put away. Store items you don’t want kids to get out on their own (maybe the paint & Play-Doh) up on higher shelves. Try to group related toy categories near each other on the shelf (building supplies together, car/train bins together, dolls/barbies together).
Step 5: Choose the Right Bins
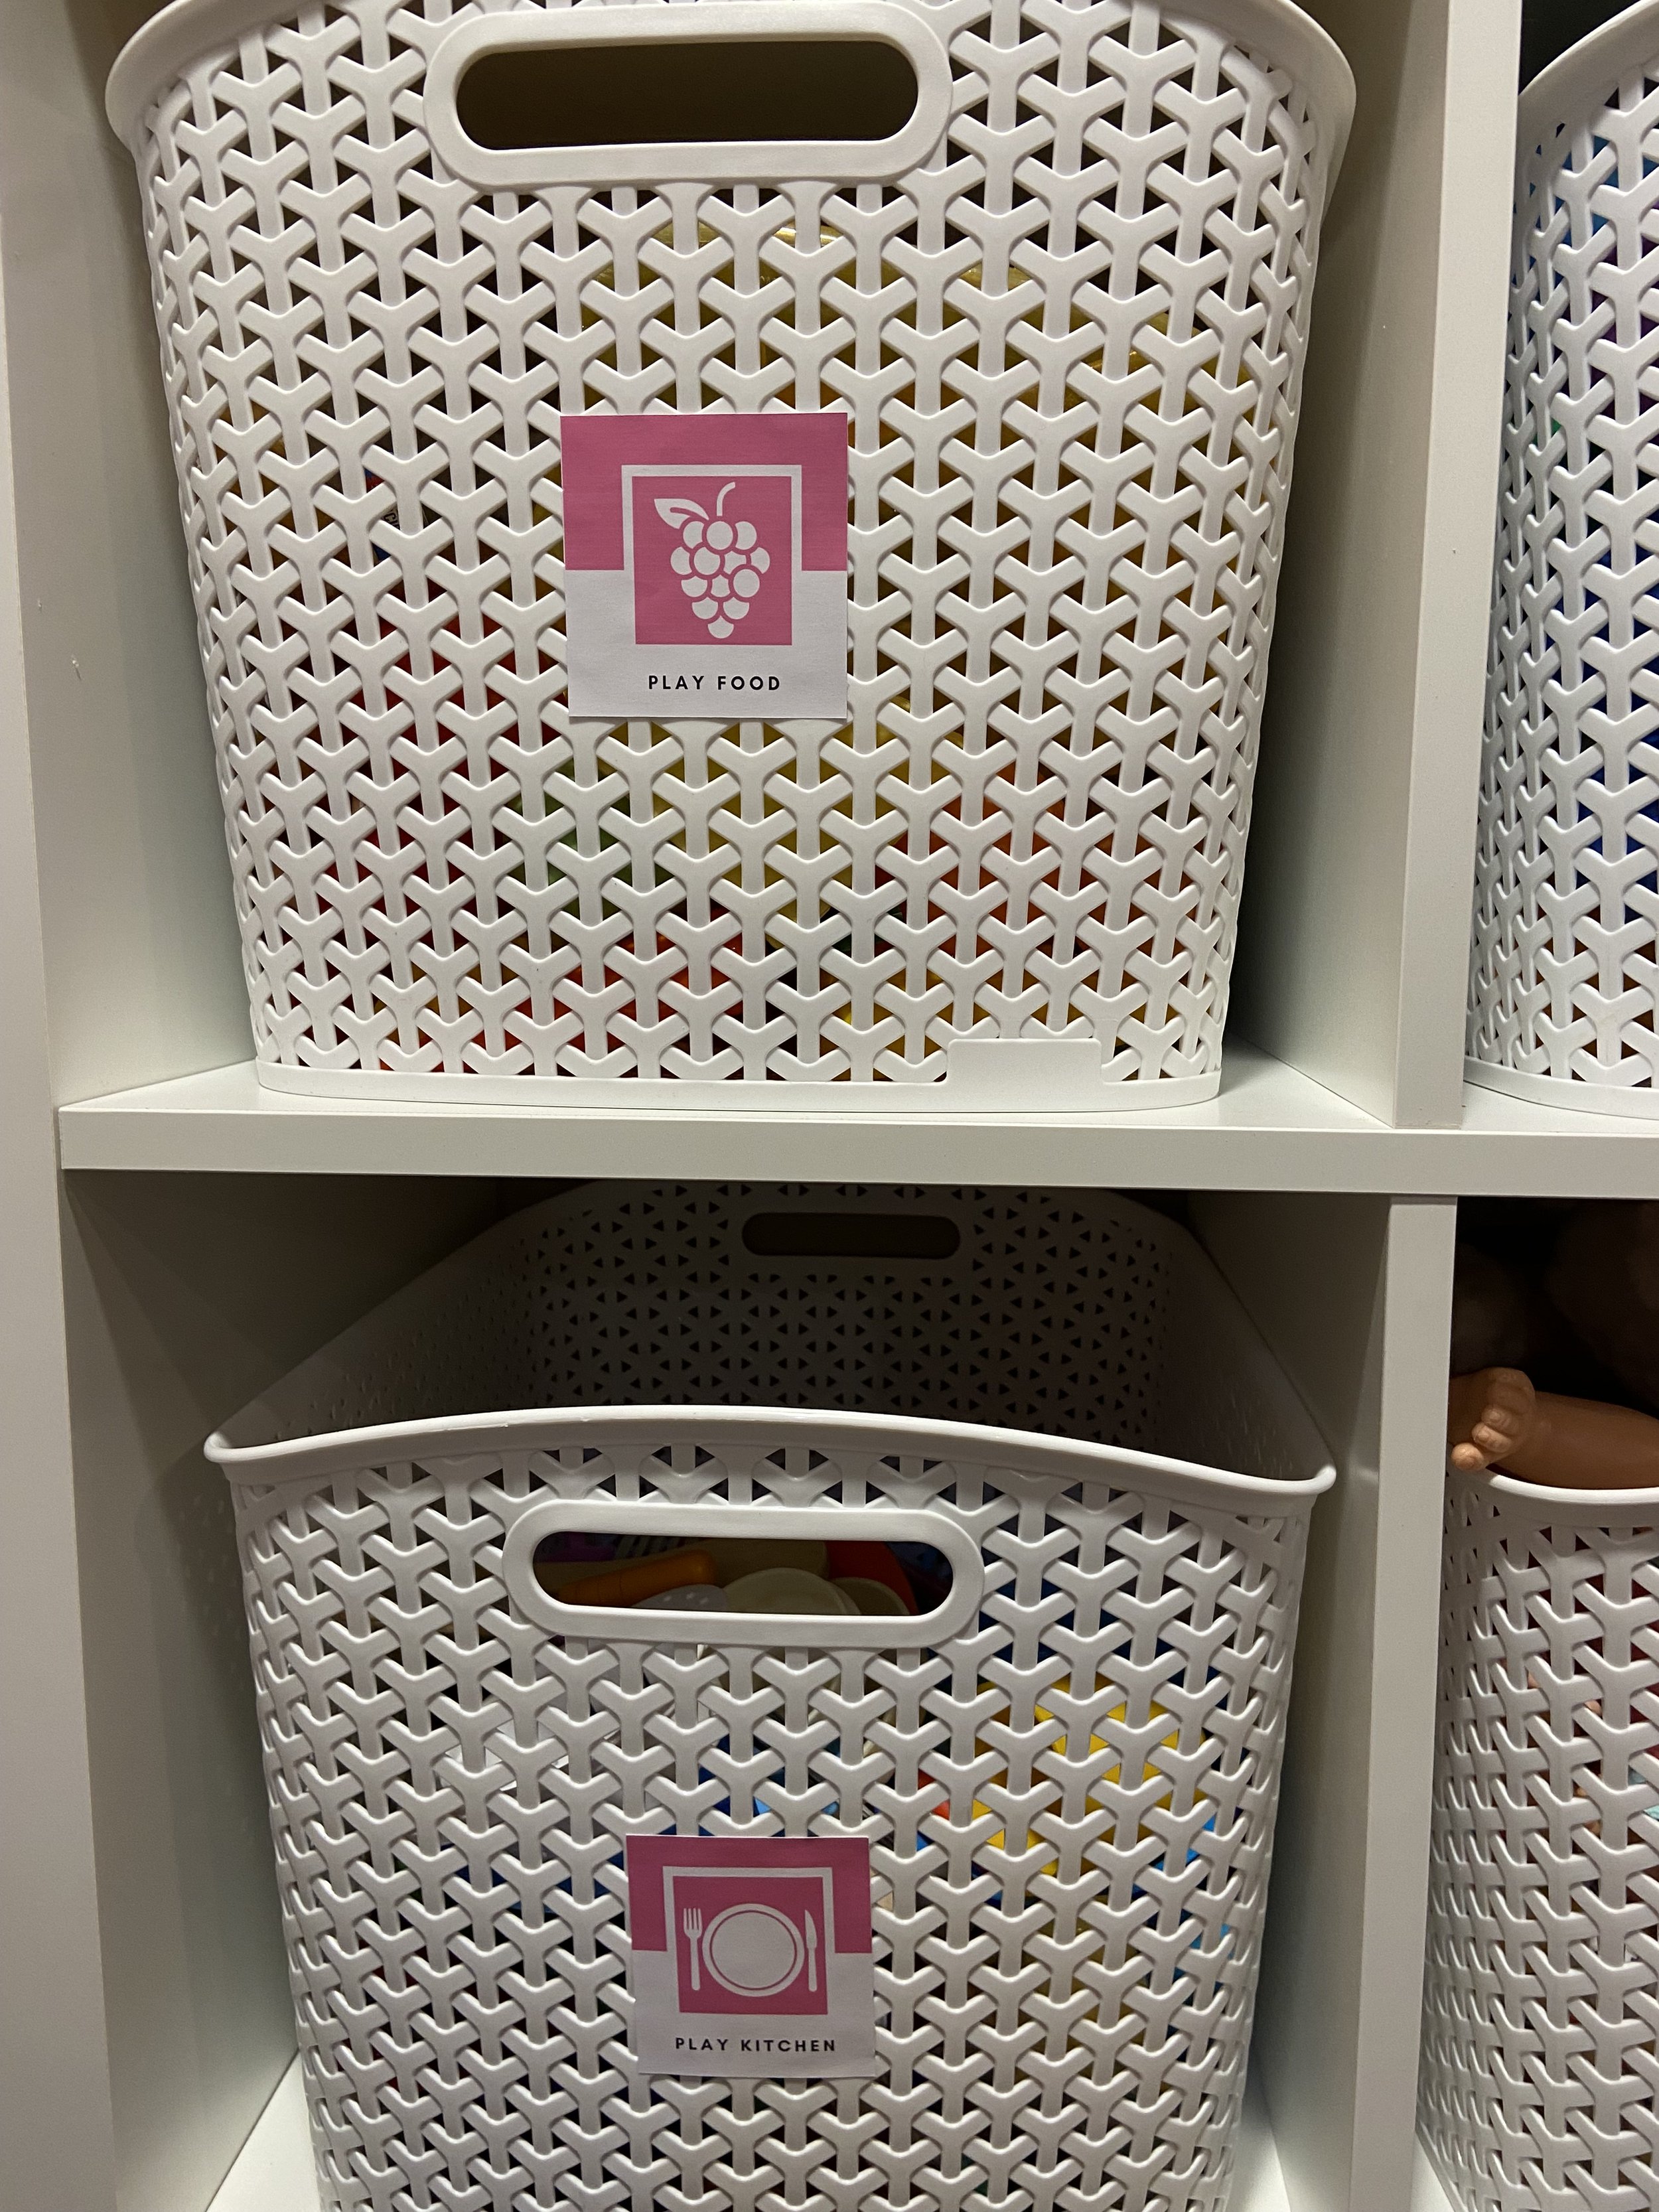
One of the keys to maintaining an organized playroom is to make it easy to clean up, so keep the system as simple as possible. Don’t expect your child to put books away in rainbow order or separate toy parts into lots of different containers. In general I like to use larger baskets like the XL Y Weave baskets from Target to store bulky items like stuffed animals and cars. However these larger bins can be a dumping ground if toys are too small. Consider using the smaller version of the Y Weave basket, stacking clear shoe boxes, or open front bins for smaller toy categories.
Step 6: Label
There are some great picture labels available on Etsy or create your own version saving product images from Amazon and then printing on name tag paper. Or you can get some chalkboard tape and write the bin name on the tape. Labeling is critical to maintaining an organization system, helping children and caregivers know where to find & put away items.
Step 7: Maintain
Explain the new system to your child so they know where to find their toys & how to put them away. Don’t expect your child to put books away in rainbow order or separate toy parts into lots of different containers. Keep the system as simple as possible. Remind your kids where toys go over the next few weeks & think of ways to make clean up fun. The playroom will likely get messy again but it will be easier to clean up with less toys around and a great system in place
Organizing a playroom can be a big project but worth the effort. Declutter, create zones, invest in storage and paper bins, label everything, make it easy to clean up and create a system that works for you and your family. By following these steps, you can create a playroom that is organized, functional, and fun for your child to play in.